Early Childhood Education • Special Visitor
Making handmade paper from recycled materials
02 Nov 2023
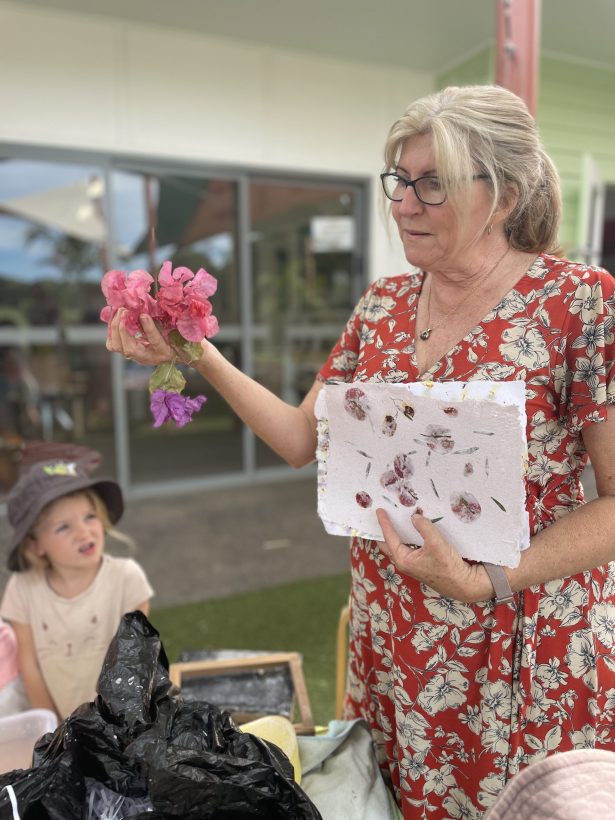
As a part of our community education program our Mullumbimby centre had a visit from a grandparent of one of our little beanz. Susan from Born in Paper specialises in recycled and handmade paper and paper products made with love in their studio in the hills of Byron Bay.
They use recycled office waste to create eco-friendly and sustainable paper by hand and we had the pleasure of learning their craft.
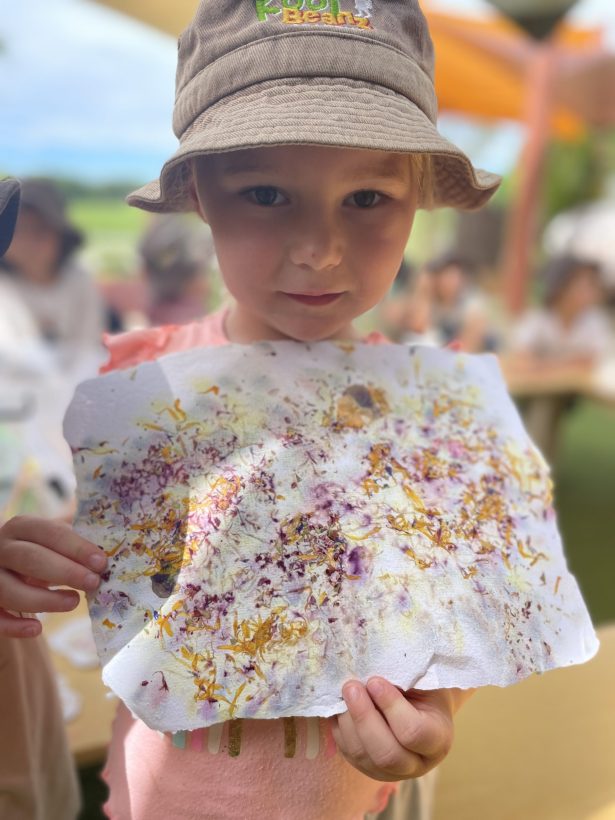
Each of our Snr Kindy and Preschool little beanz were taught how to make homemade paper using recycled paper from our very own centre. Although we are conscious of the environment and mindful to reduce our everyday paper usage, it is needed as a learning resource therefore where we can recycle, we are contributing to a more sustainable educational practice. Learning about the environment and how natural systems function is an integral part of our education program. Everything that we need for our survival and wellbeing relating directly to our natural environment is incorporated into our everyday learning activities.
Sustainability is “environment education”. These practices learnt in a child’s early years should be taught both in Early Childhood Education as well as in their everyday lifestyle at home.
Here’s How to Make Handmade Paper from Recycled Materials
Making paper by hand at home is a simple, fast, and fun process. It’s also a great way to use up your old receipts, scrap papers, junk mail, and copy paper that you were about to throw in the recycling bin, and instead create a thing of glorious handmade beauty.
What you need:
- Water
- Scrap Papers
- Plastic storage tub or vat
- Kitchen blender – get one from the thrift store
- Mould & Deckle (a screen attached to a frame – you can purchase one from Born in Paper here.)
- Sponge & rolling pin
- Towels, wool blankets, cloth, or other absorbent material
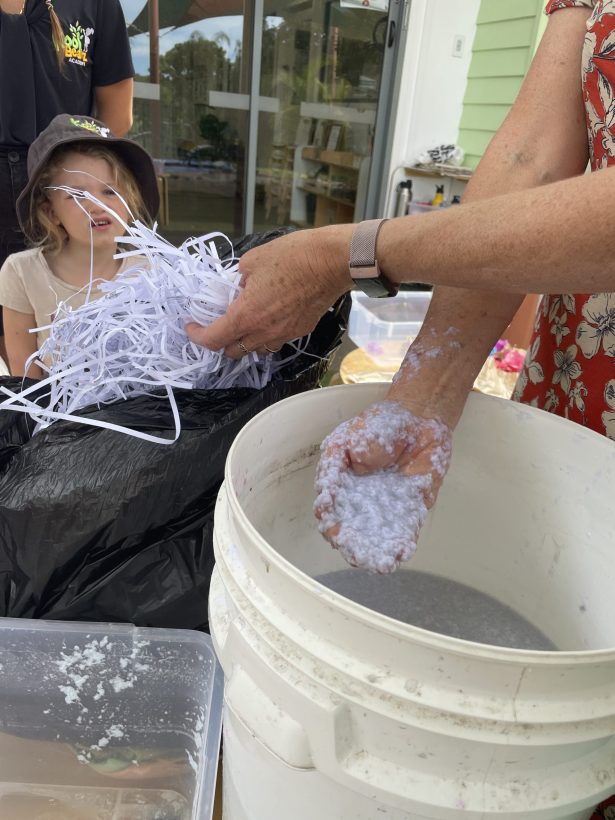
Cut or rip up your paper into about 1-inch squares. You can experiment with junk mail, office paper, paper grocery bags, the yellow pages, rejection letters, and more. You can also experiment with colour combinations, whatever recycled paper you have, just remember no plastic. Soak the paper / water mix for a few hours or leave overnight.
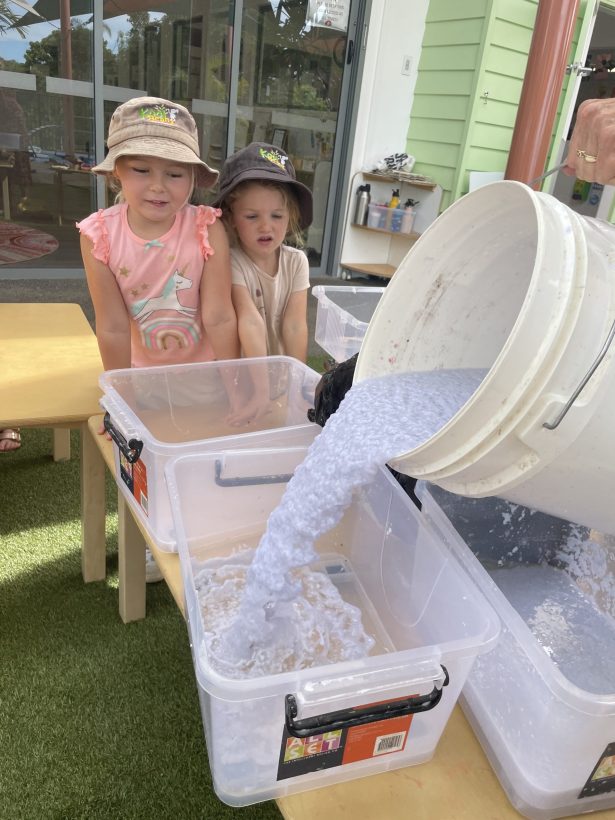
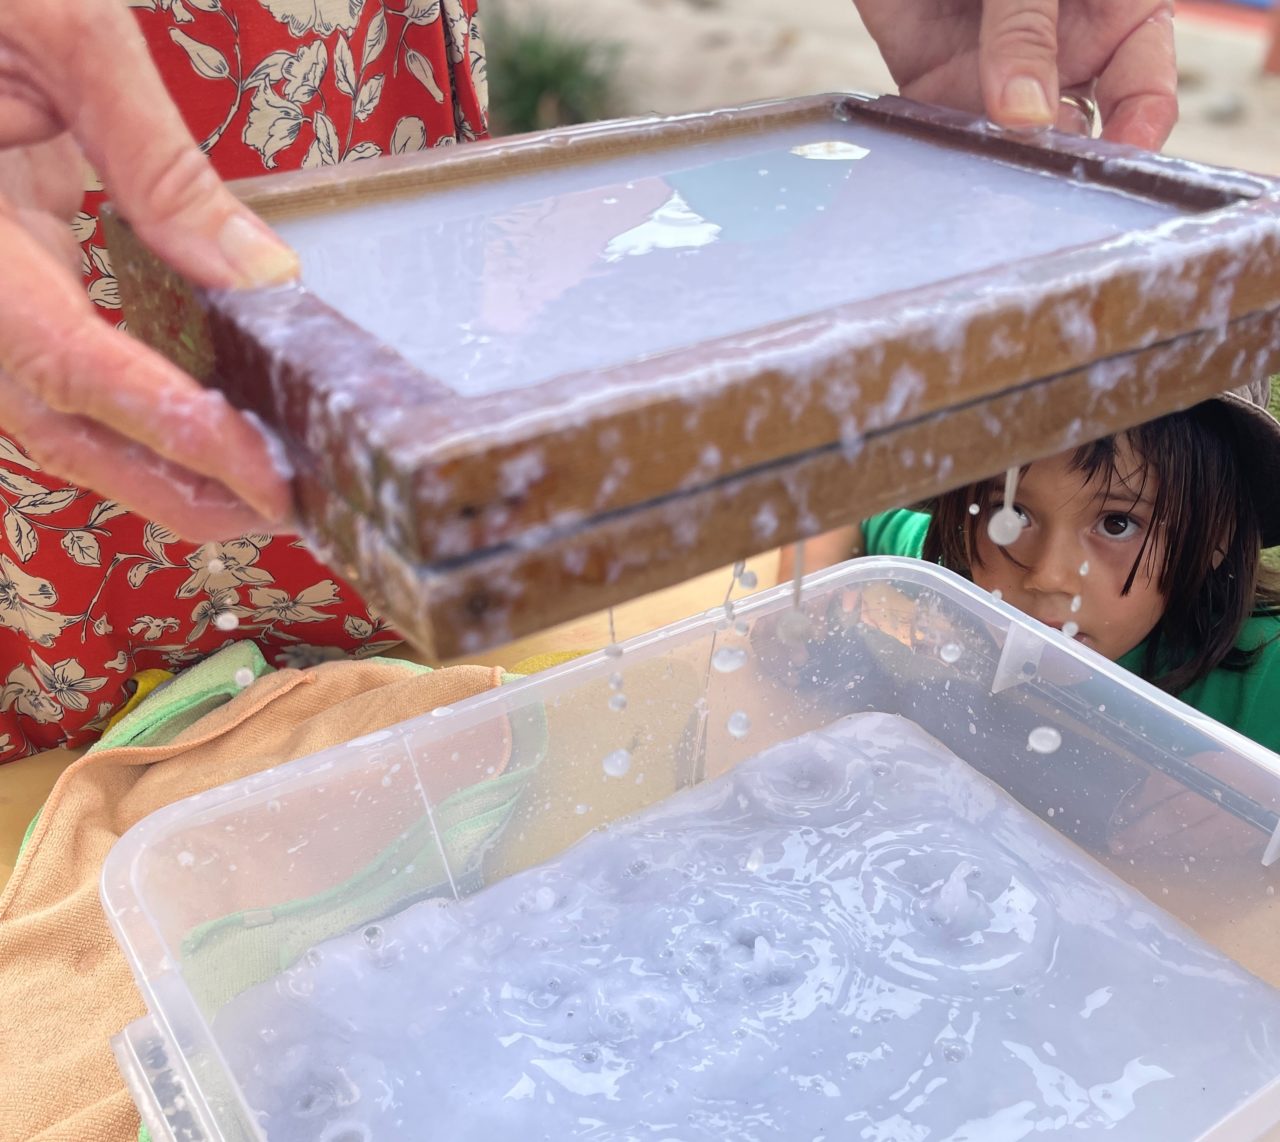
Fill the kitchen blender with water and add some of the soaked paper scraps and blend until it is a pulp. You will need to do this in batches, not adding too many soaked paper scraps at a time. Fill your storage tub halfway with pulp and then add more water. The more pulp to water the thicker your paper will be.
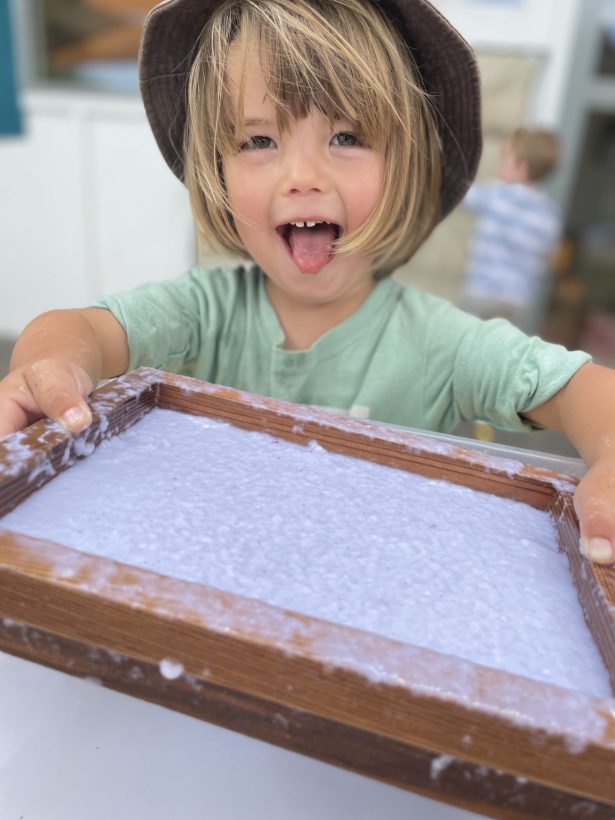
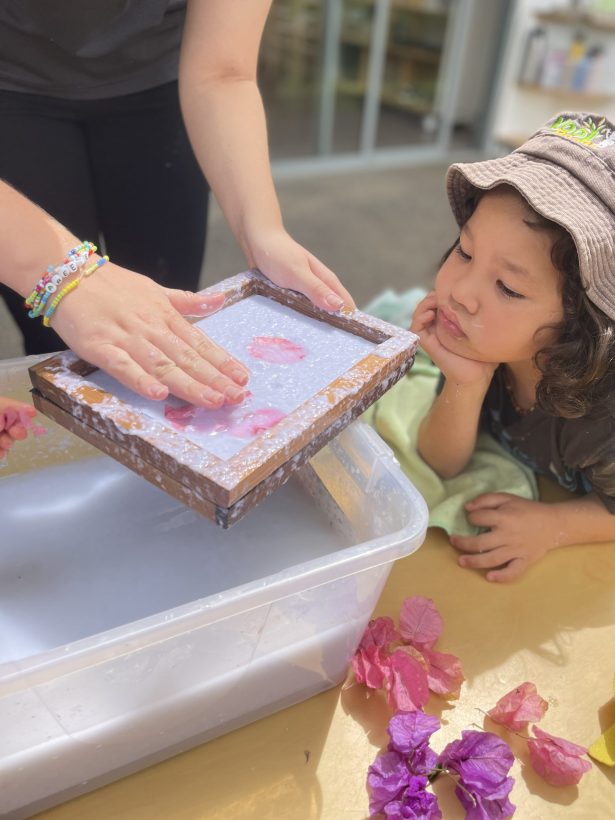
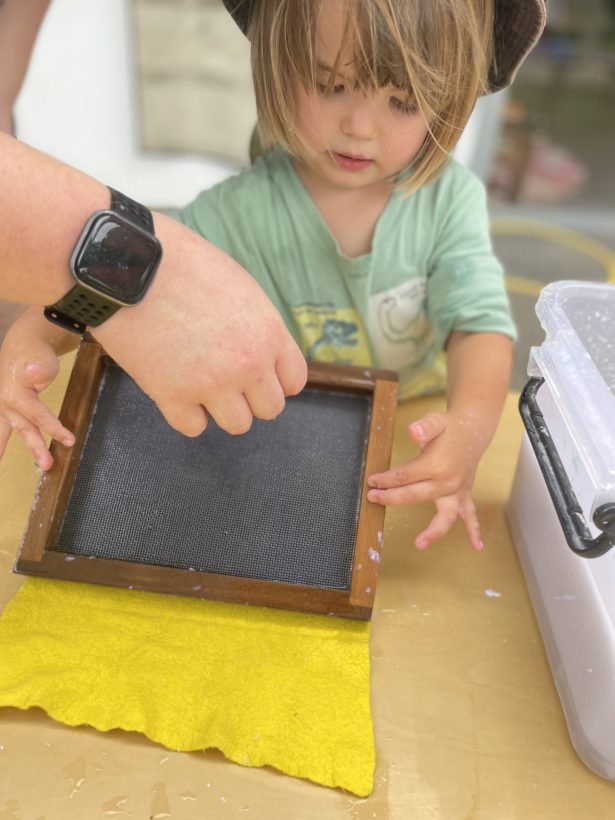
Stir your tub of pulp making sure the pulp is properly mixed with the water. Hold the mould screen side up and place the deckle evenly on top. Holding them together at a 45-degree angle, dip the mould and deckle to the bottom of the vat and scoop up, holding the mould and deckle horizontally. As you lift it out of the tub, give it a quick shake back and forth, and left to right to align the fibres and make a more uniform sheet. Stop shaking before the sheet is fully drained and let the water drain to a drip. If you would like to add some decorative materials do so at this stage adding some of the pulp and water over the top to secure them.
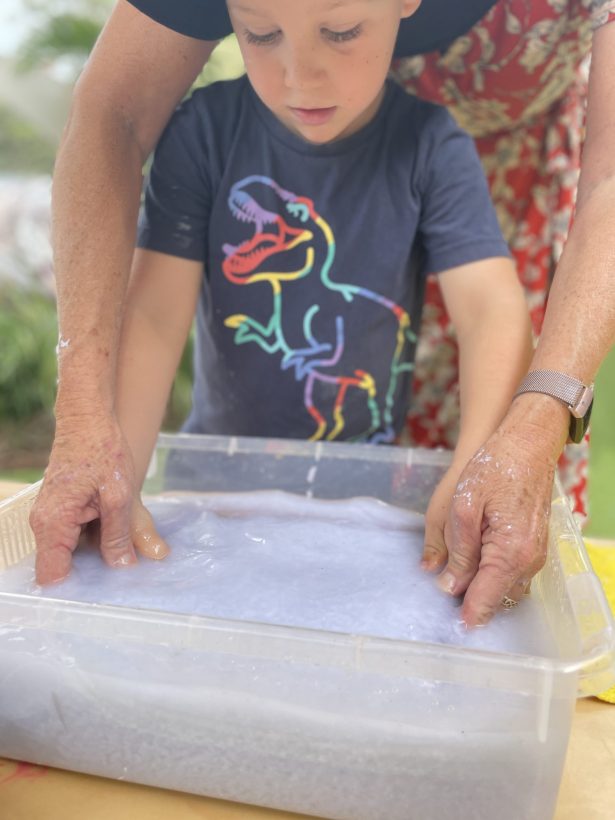
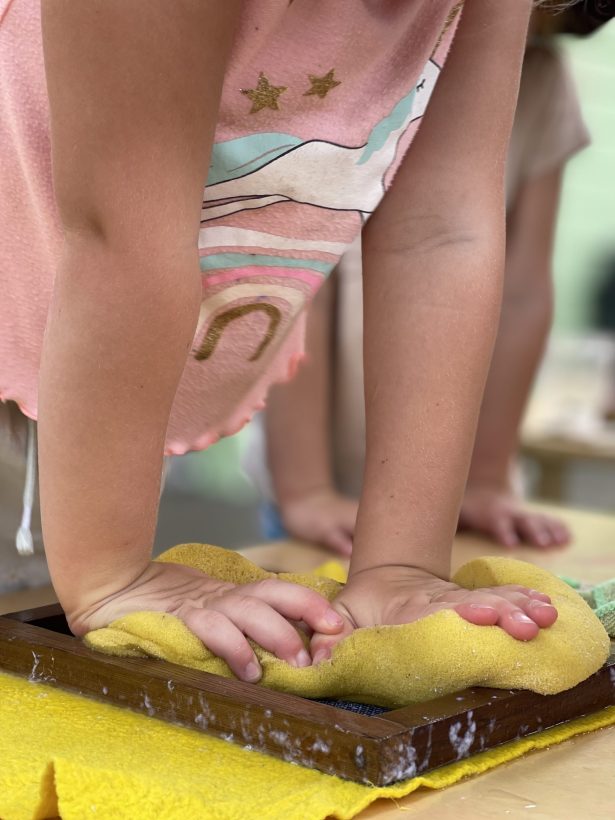
The process of transferring the wet sheet from the mould to a flat drying surface is called couching (pronounced coo-ching). Remove the deckle from the mould and place the long edge of the mould onto your fabric surface. Using a sponge soak up some of the water then remove the mould using a rocking motion to pry the paper from the mesh.
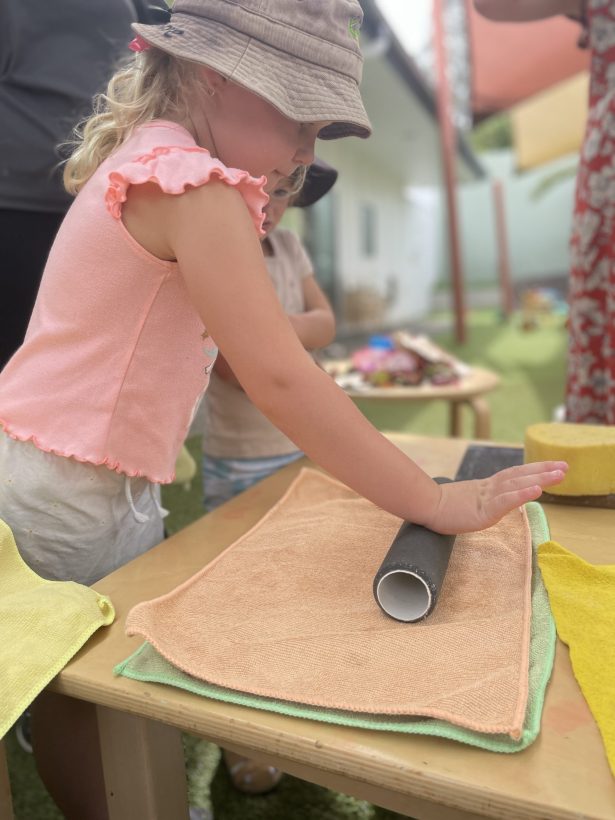
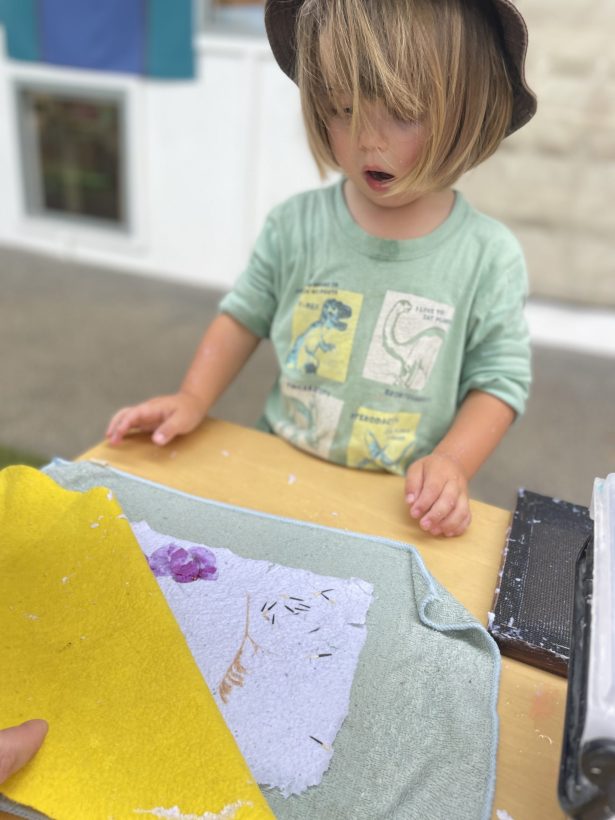
Place a cloth or towel on top of your paper and lightly apply pressure to absorb the water. Repeat if needed. Transfer your paper from the cloth onto a hard surface and leave to dry.
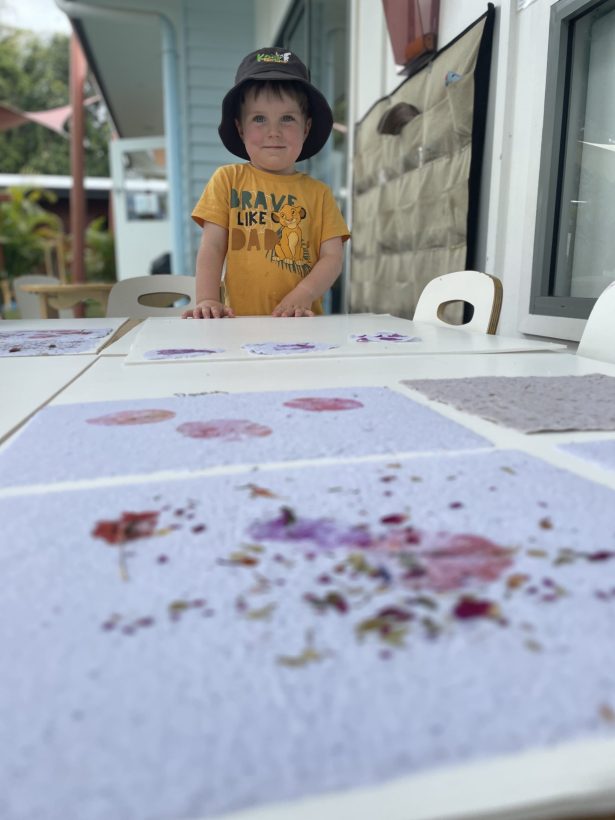
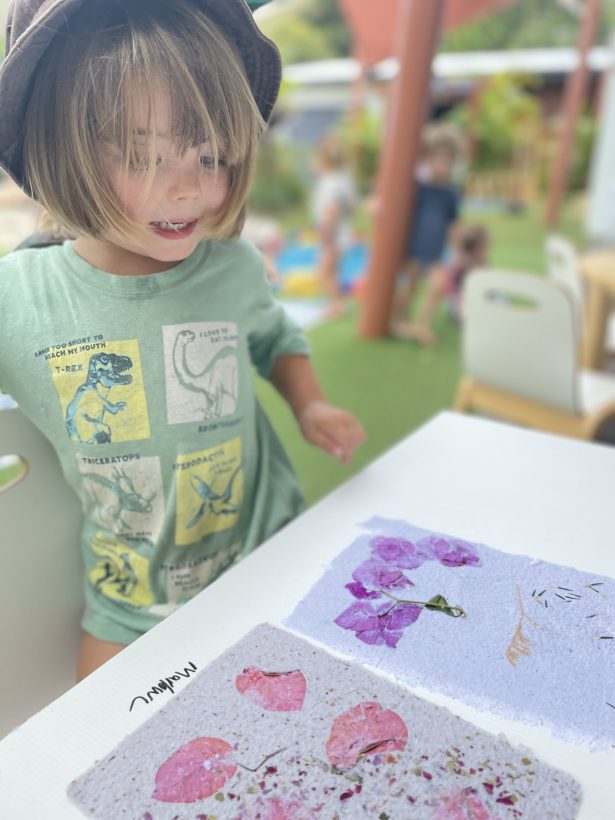
Depending on what you would like to use the paper for you can add natural decorative materials such as leaves, dried flowers or seeds.
The Process